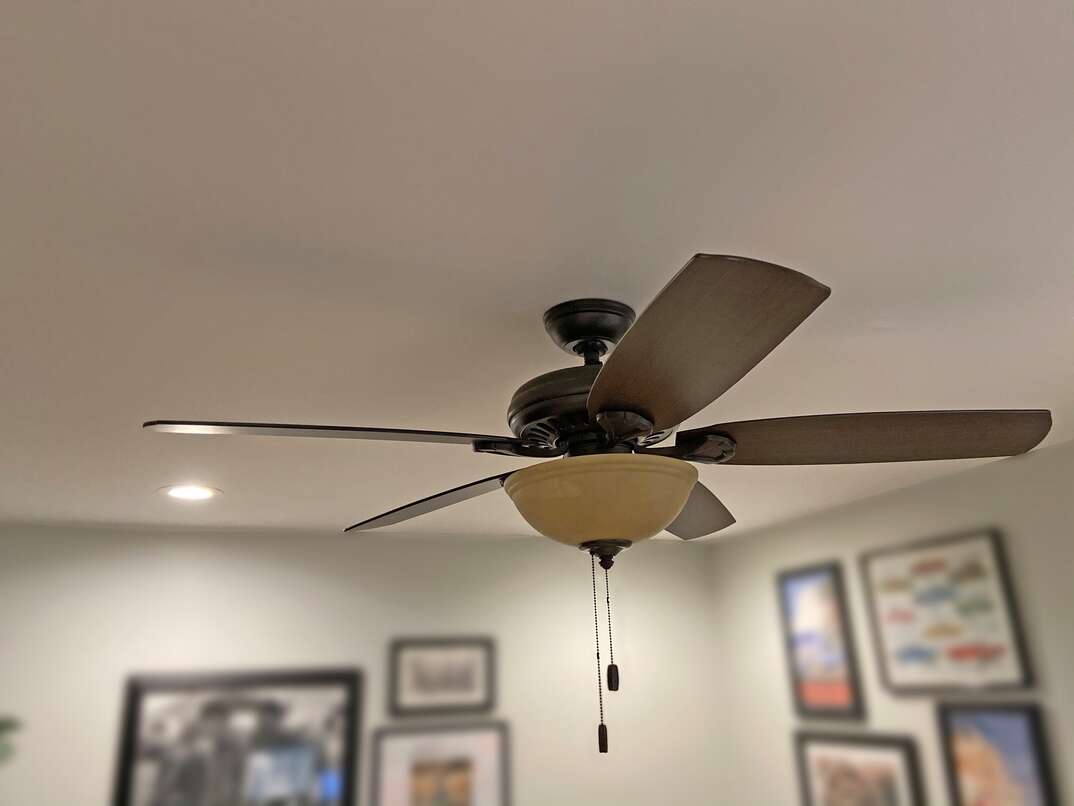
I had seen and sort of dismissed the whole smart home concept long ago because it’s all so expensive, but a few weeks ago, I had an idea. I would try to make my ceiling fan remotely controllable with HomeKit. (HomeKit because I primarily use Apple devices) If I was successful, I would give smart home stuff a shot. Spoiler: I was successful.
How I did it
First, I wanted to get the hardware working without the fuss of working with Apple’s HomeKit protocol. With a multi-meter and testing using some wire I had on hand, I worked out which parts of the button pads I needed to pull low in order to emulate a button press.

Then, I soldered wires to each of the portions of the button pads that source current. (The current sinks are the ones that are connected to ground while the sources are the other ones.)
One thing I haven’t mentioned up to this point is that the remote runs on 12V while the Pi runs on 5V, so if I used the Pi to power the remote PCB, it would not have enough power to send a strong enough signal. I did find that it did sort of work, but wasn’t anything close to reliable, so I cobbled together a small battery holder for the button PCB, and put it’s original battery in it for power. However, in order for the pi to successfully communicate with the remote PCB, they have to share a ground potential. Basically, I had to connect their grounds together. Then I discovered that once connected to the Raspberry Pi, the remote would think that all of the buttons are being perpetually pressed even if the Pi was trying to source current (outputting a 1 on the GPIO pin). So, I soldered some 68k ohm resistors between the Pi and the remote, and…….. Success! I could send button presses to the remote by outputting 0s to the GPIO pin!
Now, I needed to figure a way to control the remote with HomeKit. I found a project online called homebridge. It allows you to write Javascript plugins to control non-homekit devices from HomeKit. I initially tried a couple of plugins designed to control the Pi’s GPIO, but I didn’t end up getting any to work. So, I wrote my own plugin which can be found on Github. I did have some challenges writing the plugin. You can order the to a specific state(off, low, medium, high), but the remote has only a single button for the light which makes it difficult to order a specific state. Despite that, after some experimentation, I found that if you hold down the light button for 5 seconds, you can guarantee that the light is on because the dimming function begins after 5 seconds. So, if the light is off, it will turn on on the rising-edge of the button press, and if the falling-edge resides 5 or more seconds later, the light will begin to change its brightness. If the light is already on, it won’t do anything on the rising-edge of the button press, and upon 5 seconds after the rising-edge, the light will begin to dim. You may expect that this would cause the brightness of the light to be erratic, but only after 5 seconds will the brightness begin to change slowly, so it should remain very close to constant, and this only happens when the controller is rebooted.
Future Improvements
I intend to move away from using a Raspberry Pi as an entire operating system is not necessary and quite inefficient to interact with HomeKit. Eventually, I think I’ll transition to using an ESP-8266 as they are super cheap and efficient.